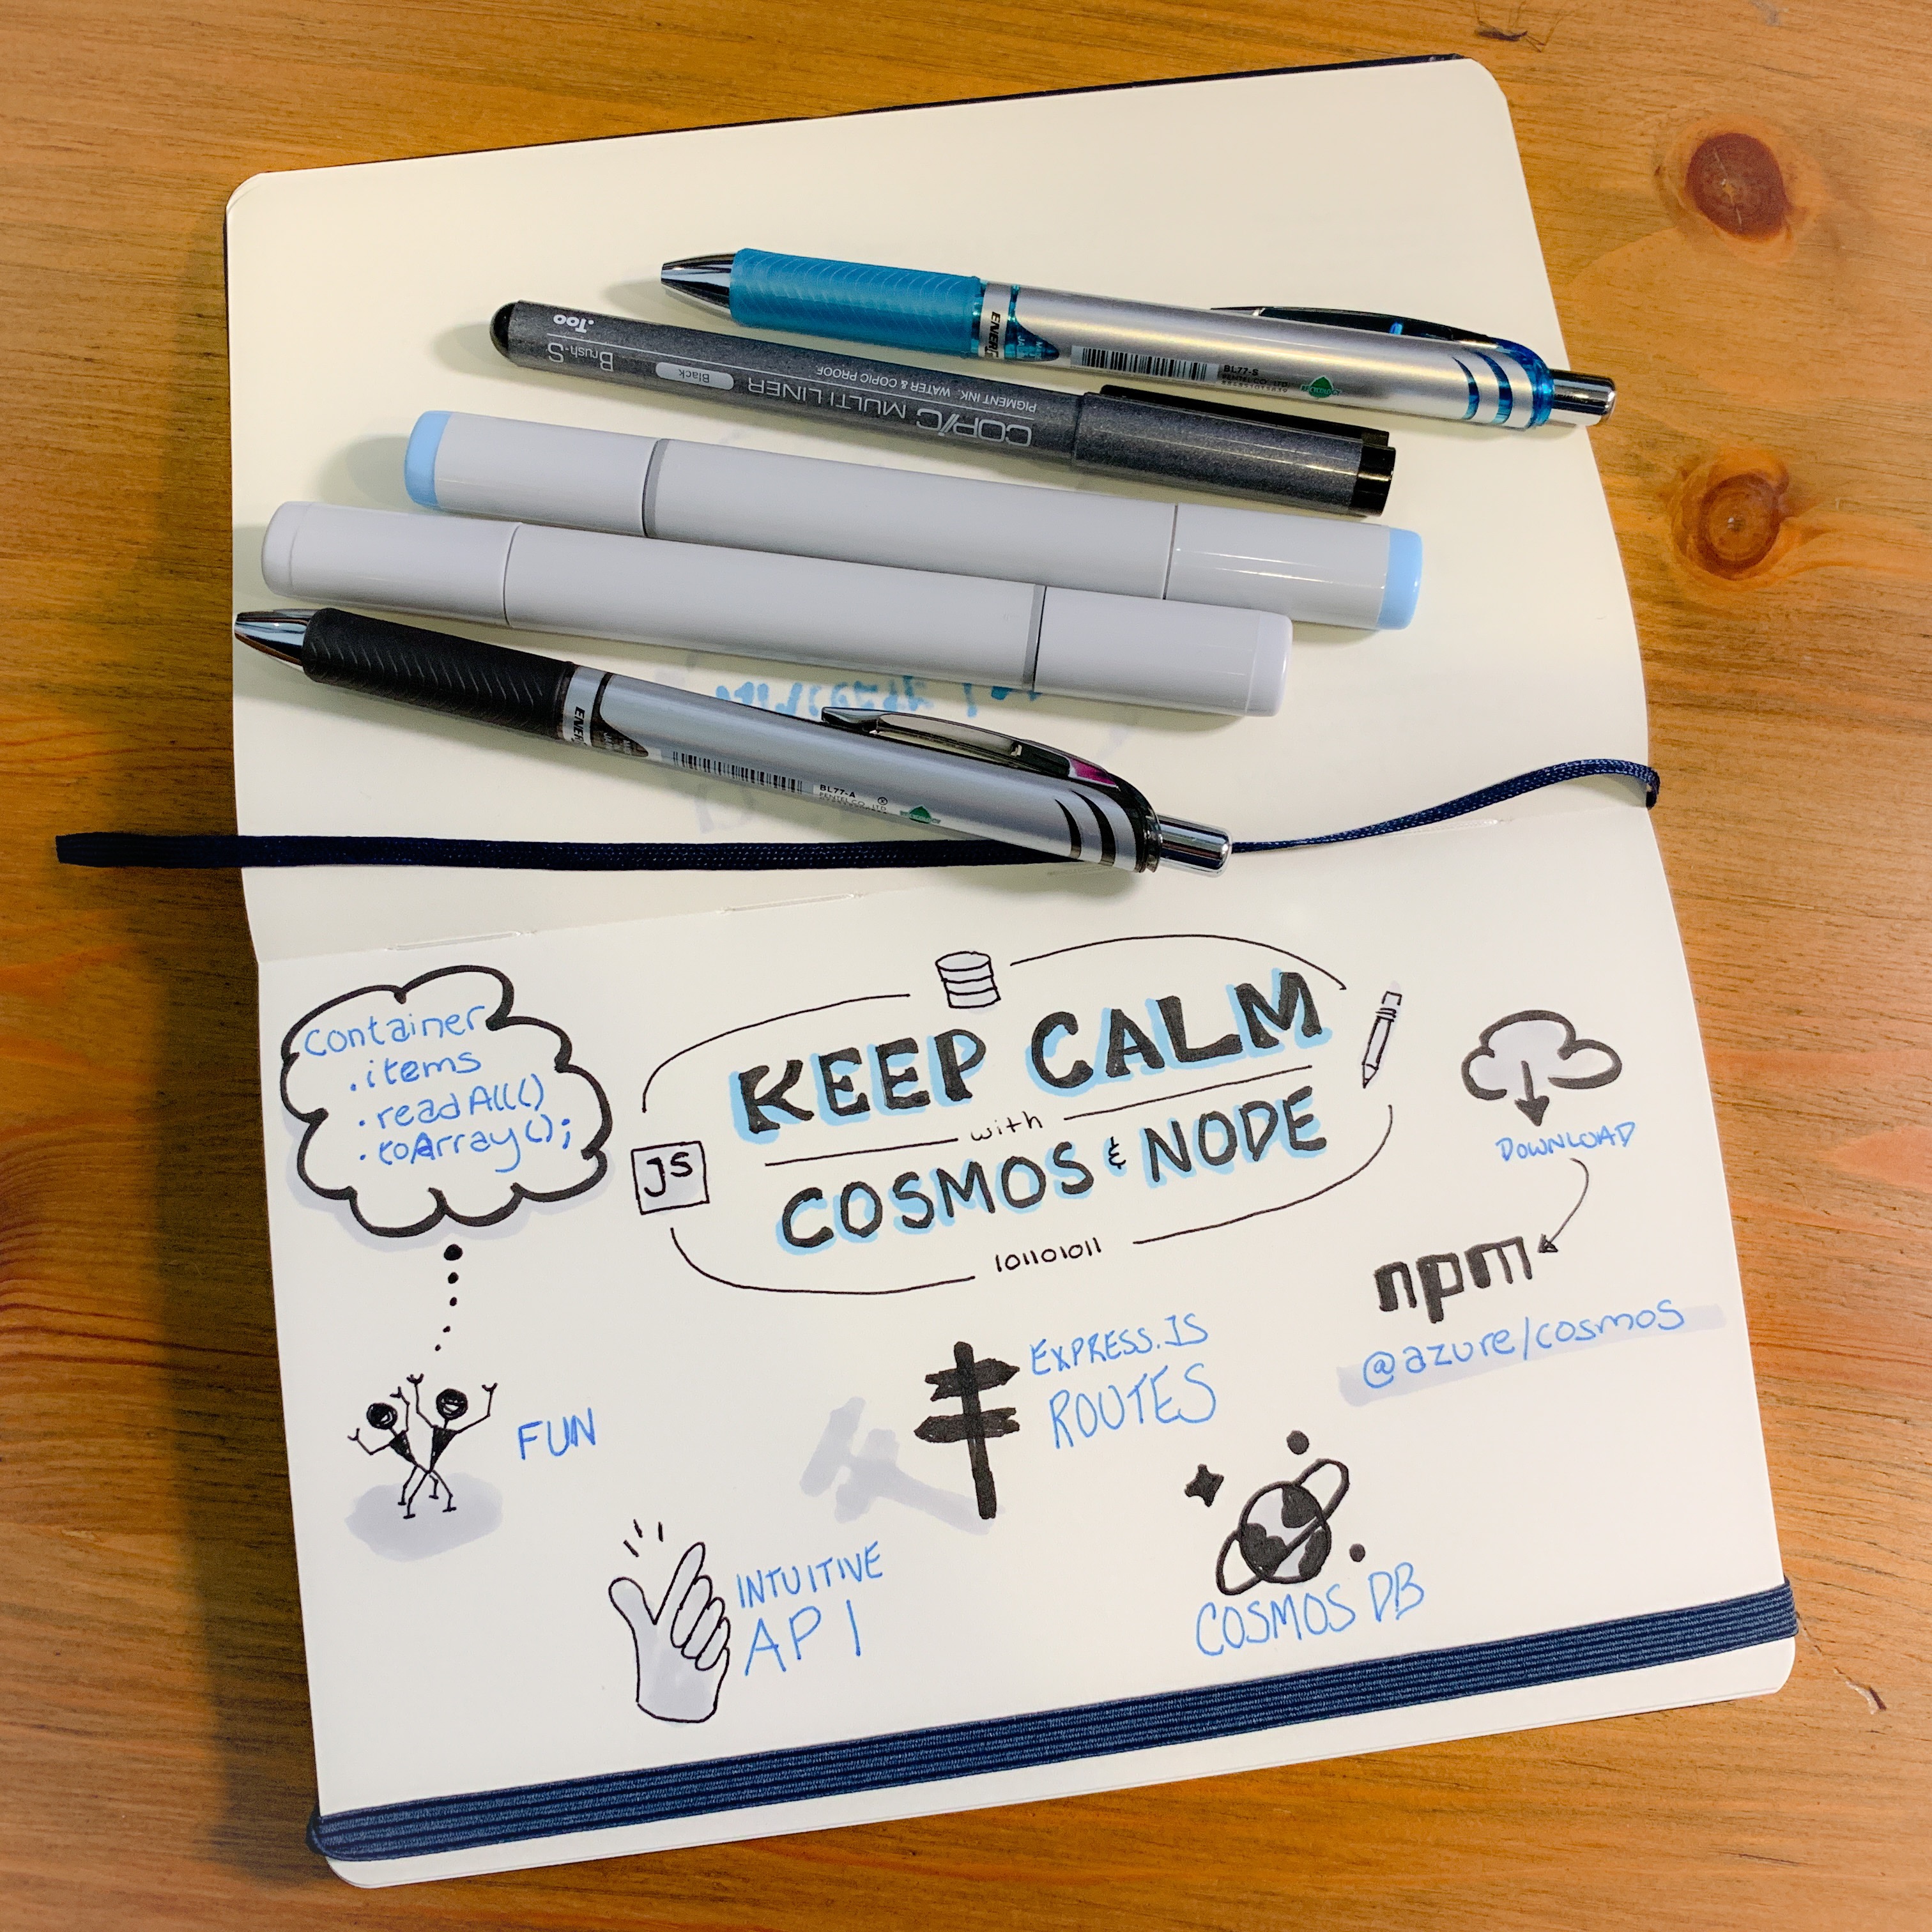
Coding with the Cosmos DB SDK feels good. Yes, I said feels good. Yeah, yeah … it is fast to install, fast to learn and fast to execute. But most of all it feels good.
Think about when you are coding and everything is just flowing for you. It feels great to be in a rhythm and get everything out of your head and into the code and working fluidly! A key ingredient to this is when the APIs we are coding are intuitive and easy to follow. This is where the Cosmos DB SDK shines brightest. Let's see why.
I Want to Have Fun with the Code Now
Cosmos DB SDK is awesome, feels great, and if you want to feel great too without reading this and try this all yourself - here are the links to get you started. I may cry if you skip reading this, but I'll get over it.
- My sample repository on GitHub
- Node and Cosmos DB Quickstart documentation
- VS Code Extension for Cosmos DB
- Try Azure Cosmos DB for Free
Calm, Cool, Collected Coding
When all is well with the coding universe, coding can be therapeutic for many of us. Other times it can be like a dozen screaming children running through our house with paint guns at a birthday party! (hey, don't judge me)
When we write code we know what we want it to do. For example, recently I wanted a list of heroes from my database - just give them to me without making me work so hard! The line of code that gives them to me with Cosmos DB SDK is simply this:
container.items.readAll().toArray()
There is a container for my heroes, and it has items in it (my heroes). So read them and return them as an array, please. Now that wasn't so hard!
Cosmos DB with Express Routes
OK, so how does this work in context with a Node and Express route for an HTTP request? Let's think this through.
We'll first need to set up the database. We'll do that in another module, so we can stub that out quickly and import it.
Then we get the heroes. OK, we already have that line of code from above. This code is asynchronous, so we'll consider using promises or async/await. It's your call, so choose wisely. Using async/await is what brings me joy, so that's what we'll do here. Here is how it will look as I pull the result out and rename it heroes.
const { result: heroes } = await  container
      .items
      .readAll()
      .toArray();
Finally, if it works we need to stuff the heroes in the response with a status code. If it fails, we return a failure status code and message.
Here is the code I wrote for this. Feel free to borrow it (just return it when you're done, please, so others can borrow it too).
//hero.service.js
const { heroes: container } = require('./config').containers;
async function getHeroes(req, res) {
  try {
    const { result: heroes } = await  container
      .items
      .readAll()
      .toArray();
    res.status(200).json(heroes);
  } catch (error) {
    res.status(500).send(error);
  }
}
That was easy. Like crazy easy! We just wrote database access code and connected it to an express route in a few lines.
OK, there was that one line we stubbed in for the configuration. We'll need to write that, but the good news here is that the configuration only needs to be done once. The fixed cost is a one-time thing that as many functions as you need can re-use. In other words, we can write functions to get, put, post, delete heroes, villains, and whatever we want and only need that single line up top to configure it!
Isolating the Configuration
Here is a module you can use to help get started. I like to isolate the functionality that sets up my coding environment to connect to the database in one Node module. Here we have one that we could call config.js or giraffe.js. I think the former makes more sense, but you do you.
The comments explain what is happening in here, but let's review anyway. First, we reference the Cosmos module from the @azure/cosmos npm package. Then we set up the keys, URL, and database name. This consolidates all of our configurations in one place. Finally, we instantiate the Cosmos client object and expose the container objects. These container objects are what we'll import in other modules, so we can just ask for the container and it just works. Yes, it's that simple.
// config.js
// Get the npm module for Azure's Cosmos
const cosmos = require('@azure/cosmos');
// Identify your database keys and name
const endpoint = process.env.CORE_API_URL;
const masterKey = process.env.CORE_API_KEY;
const dbDefName = 'vikings-db';
// Instantiate the Cosmos client object,
// which is the focal point of interacting with Cosmos
const { CosmosClient } = cosmos;
const client = new CosmosClient({ endpoint, auth: { masterKey } });
// Make it easy to acces the containers
const containers = {
  heroes: client.database(dbDefName).container('heroes'),
  villains: client.database(ddDefName).container('villains')
};
module.exports = { containers };
Try It
You can try this out yourself in your own app, or by cloning my repository here, or by running through a quick start in the documentation.
Here are some links to get you started
- My sample repository on GitHub
- Node and Cosmos DB Quickstart documentation
- VS Code Extension for Cosmos DB
- Try Azure Cosmos DB for Free


